The WordPress REST API is creating a lot of excitement in the WordPress community. Some are saying it’s a nice addition to the platform, while other are saying it might completely change WordPress forever. In this article we are going to dive right in and install the WP REST API, make a request to the API, and see what all of the hype is about.
The WordPress REST API
For this article, I’m going to assume a very basic knowledge of what an API (Application Programming Interface) is. For those that aren’t quite familiar with the idea of an API, you can check out this nice beginners guide.
We are going to dive right in a make a request to the API, then break things down to get an idea of what is going on. You can think of this as the most basic application ( the ‘hello world’) of using the WordPress REST API.
Let’s Get Started
We are going to do a WP REST API in 3 steps
- Install the plugin to your WordPress installation
- Set Permalinks to anything other than default
- Make a request!
1. Install the WP API Plugin
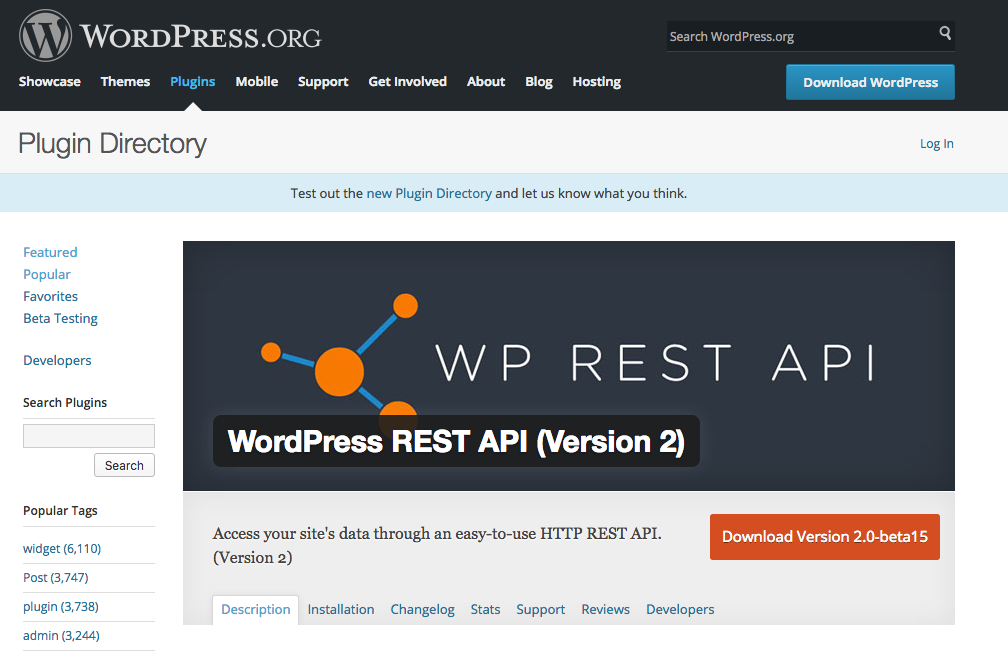
To find the plugin, go to this link:
https://wordpress.org/plugins/rest-api
Click the ‘Download’ button to download version 2 of the WP REST API plugin (currently in beta as I’m writing this).
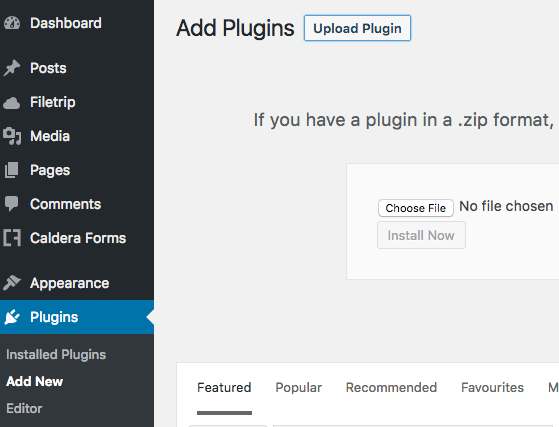
Next, upload the plugin to your WordPress site. In your admin area, go to Plugins -> Add New -> Upload Plugin, and choose the file you just downloaded.
Activate the plugin by going to Plugins -> Installed Plugins -> WP REST API -> Activate
2. Set Permalinks
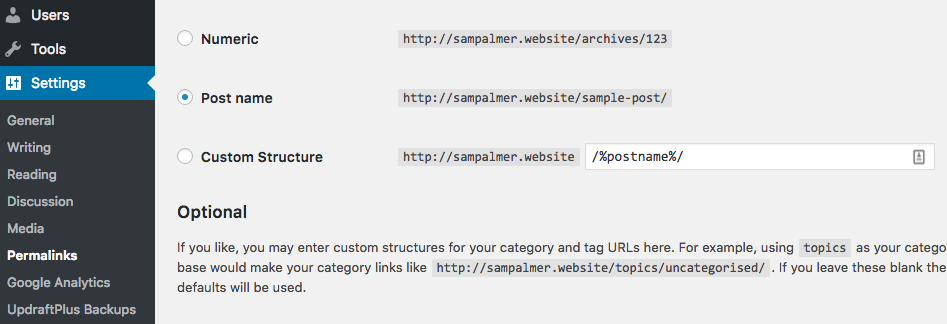
Next we need to make sure that permalinks are set to anything other than ‘Default’.
Just go to Settings -> Permalinks and choose one of the options. I like to just use Post name.
3. Make an API Request
Now we are all set up, we can send a request to our API. Don’t worry, is actually a lot easier than you think, and you don’t need to install anything.
Open up a new tab on your web browser and put in the following link (replacing www.yourwebsite.com with your website’s URL):
http://{www.yourwebsite.com}/wp-json/wp/v2/posts
That’s it! All those lines of code in your browser are the response to your API request. If your request was successful, you should have something like this on your screen.
Don’t worry you aren’t supposed to be able to understand it. It’s unformatted JSON data. JSON is a format for storing data, in our case, the content from our page. Our next step is to decode it.

Go to http://jsonviewer.stack.hu/. It’s an online tool that easily displays JSON data in a nice, understandable way. Go ahead and paste in your API response into the text field, then click on view to see how it looks.
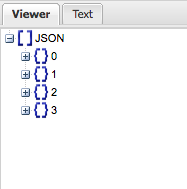
You should get something like this, with more or fewer sections depending on how many posts are on your site.
Each of the brackets with a number represents a post on your website. See if you can do some clicking around to find some of your content.
What All of This Means
Essentially, we have requested a list of all the posts on your WordPress site, in JSON format. Your website responded with exactly that. There are many other requests you can make, just by altering URL of your request. You can do things like:
- Get a particular post
- Create a new post
- Edit a post
- Delete a post
You can do most things you can do from your admin dashboard just by sending requests to your API. Of course, things get more complicated. You can’t just let anybody add or delete posts whenever they like. For these requests, authentication is needed to make sure they have permission to do so.
It’s easy to imagine some possible uses. You could develop an Android or IOS app that interacted with your WordPress content via the API. Furthermore, a third party admin area could be developed, and you would never need to log into your dashboard again.
How To Learn More
We’ve just scratched the surface of what’s possible with the WordPress REST API. The next step from our very simple ‘get posts’ request is to start using authentication. Check out this tutorial that goes into a little more detail about authentication.

